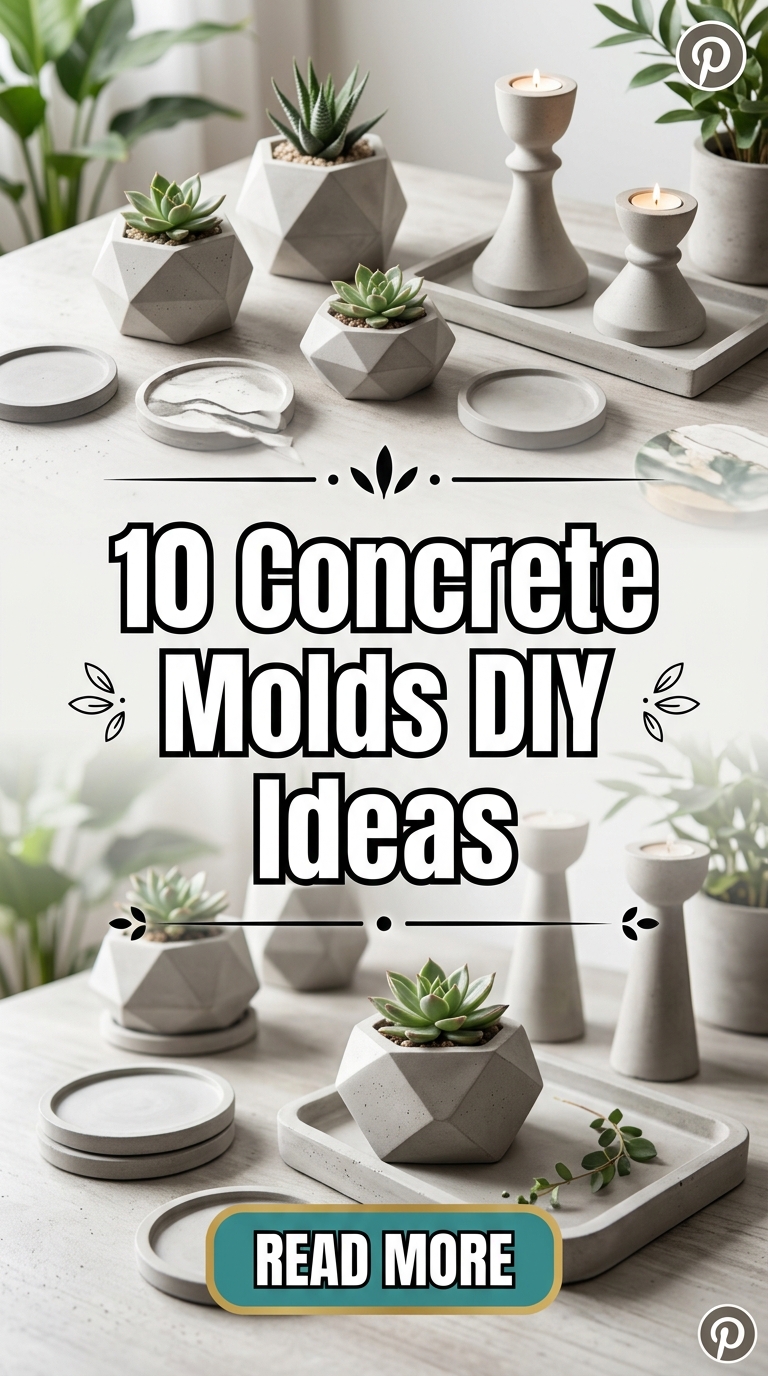
Concrete is one of the most versatile and budget-friendly materials for DIY projects. With the right molds, you can create stunning decor pieces, functional items, and modern designs that look high-end but cost very little.
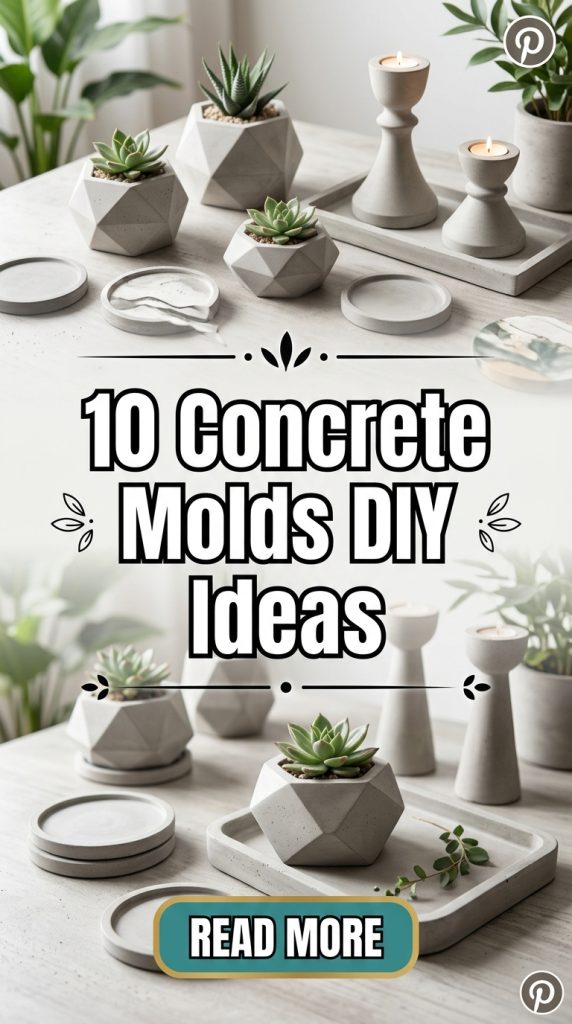
In this guide, you’ll discover 10 concrete mold DIY ideas that are beginner-friendly, aesthetic, and perfect for Pinterest-style inspiration. Each idea includes materials, step-by-step instructions, and pro tips to help you achieve professional-looking results at home.
1. Concrete Planter Molds
Why It Works
Modern, minimal, and perfect for indoor or outdoor plants.
Materials Needed
- Cement mix
- Plastic containers (for mold)
- Cooking spray or mold release
- Sandpaper
How to Make
- Choose two containers (one larger, one smaller).
- Grease them to prevent sticking.
- Pour concrete into the larger container.
- Press the smaller container inside to create space.
- Let it cure and remove molds.
Pro Tip
Use geometric-shaped containers for trendy designs.

2. Concrete Candle Holder Molds
Why It Works
Elegant and perfect for home decor or gifting.
Materials Needed
- Cement mix
- Silicone molds
- Tea light candles
How to Make
- Pour concrete into silicone molds.
- Insert placeholders for candle holes.
- Let it set and remove.
Pro Tip
Add gold paint accents for a luxury finish.

3. Stepping Stone Molds
Why It Works
Great for garden pathways and landscaping upgrades.
Materials Needed
- Concrete mix
- Round or square molds
- Decorative stones or leaves
How to Make
- Pour concrete into molds.
- Add decorative elements on top.
- Let cure and place in your garden.
Pro Tip
Use leaves to create natural imprints.

4. Concrete Tray Molds
Why It Works
Perfect for organizing or serving with a modern touch.
Materials Needed
- Cement mix
- Tray mold (plastic or silicone)
- Handles (optional)
How to Make
- Pour concrete into tray mold.
- Smooth the surface.
- Let cure and remove.
Pro Tip
Seal the tray to make it water-resistant.

5. Concrete Lamp Base Molds
Why It Works
Creates a stylish industrial or modern lighting piece.
Materials Needed
- Cement mix
- Bottle or container mold
- Lamp kit
How to Make
- Pour concrete into a mold.
- Insert pipe or tube for wiring.
- Let cure and assemble lamp.
Pro Tip
Use textured molds for a unique finish.

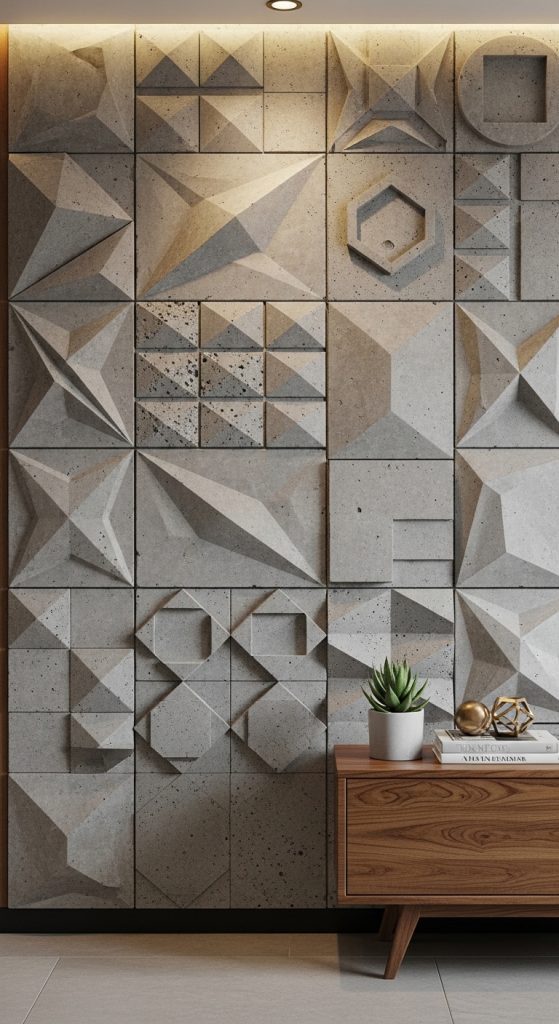
6. Concrete Wall Tile Molds
Why It Works
Adds texture and dimension to walls.
Materials Needed
- Cement mix
- Tile molds
- Adhesive
How to Make
- Pour concrete into tile molds.
- Let them cure fully.
- Attach tiles to the wall.
Pro Tip
Mix different patterns for a dynamic look.
7. Concrete Bowl Molds
Why It Works
Stylish and functional for decor or storage.
Materials Needed
- Cement mix
- Two bowls (for mold)
- Plastic wrap
How to Make
- Line bowls with plastic wrap.
- Pour concrete between them.
- Let cure and remove.
Pro Tip
Use metallic paint for a decorative interior.

8. Concrete Brick Molds
Why It Works
Perfect for building small structures or garden edging.
Materials Needed
- Cement mix
- Brick molds
- Water
How to Make
- Pour concrete into brick molds.
- Level the surface.
- Let cure before removing.
Pro Tip
Add color pigments for custom bricks.

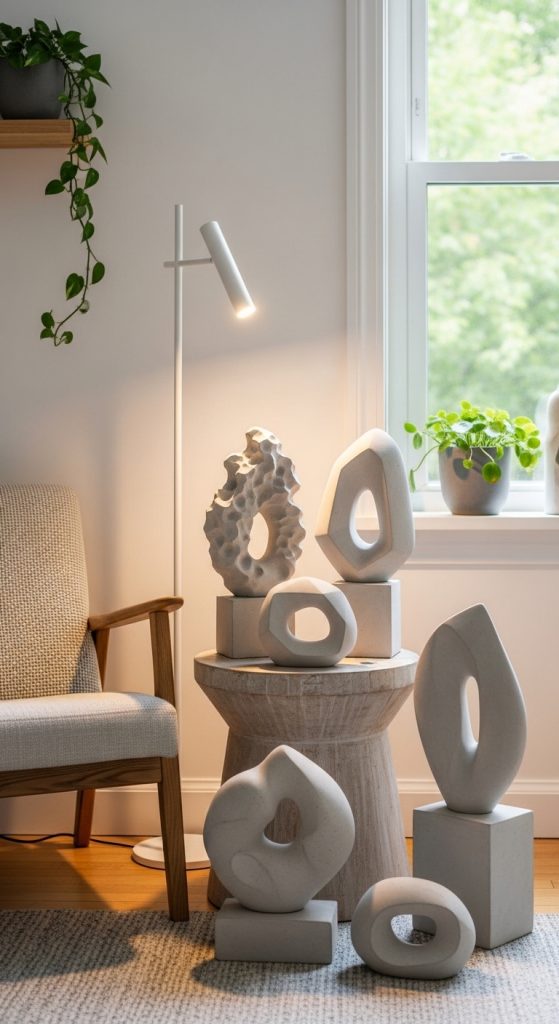
9. Concrete Sculpture Molds
Why It Works
Lets you create artistic decor pieces.
Materials Needed
- Cement mix
- Silicone molds (various shapes)
How to Make
- Pour concrete into detailed molds.
- Tap to remove air bubbles.
- Let cure and remove carefully.
Pro Tip
Use fine cement for smoother details.
10. Concrete Fire Bowl Mold
Why It Works
A stylish outdoor feature for cozy evenings.
Materials Needed
- Cement mix
- Two bowls (for mold)
- Fire-safe insert
How to Make
- Create a bowl shape using two molds.
- Let concrete cure fully.
- Insert fire-safe container.
Pro Tip
Always use heat-resistant materials for safety.

Final Thoughts
Concrete mold DIY projects are a perfect way to combine creativity, functionality, and modern design. Whether you’re making planters, trays, or decorative pieces, these ideas allow you to customize your home and garden with unique, handmade items.
Start with simple projects and gradually explore more complex designs. With patience and the right materials, you can create beautiful, durable pieces that look professionally made.