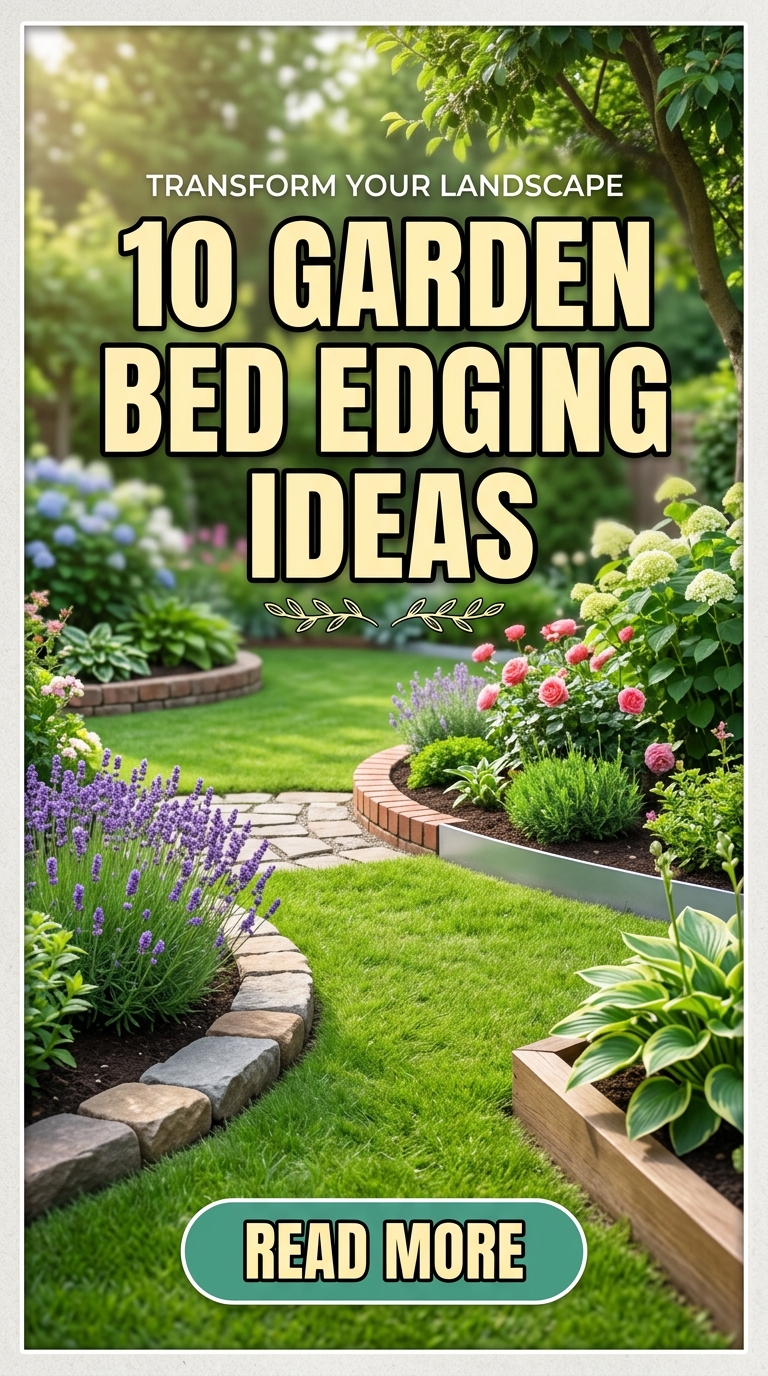
Garden bed edging is the secret to making your outdoor space look neat, structured, and professionally designed. The right edging not only defines your garden beds but also prevents soil spread, keeps grass in place, and enhances overall aesthetics.
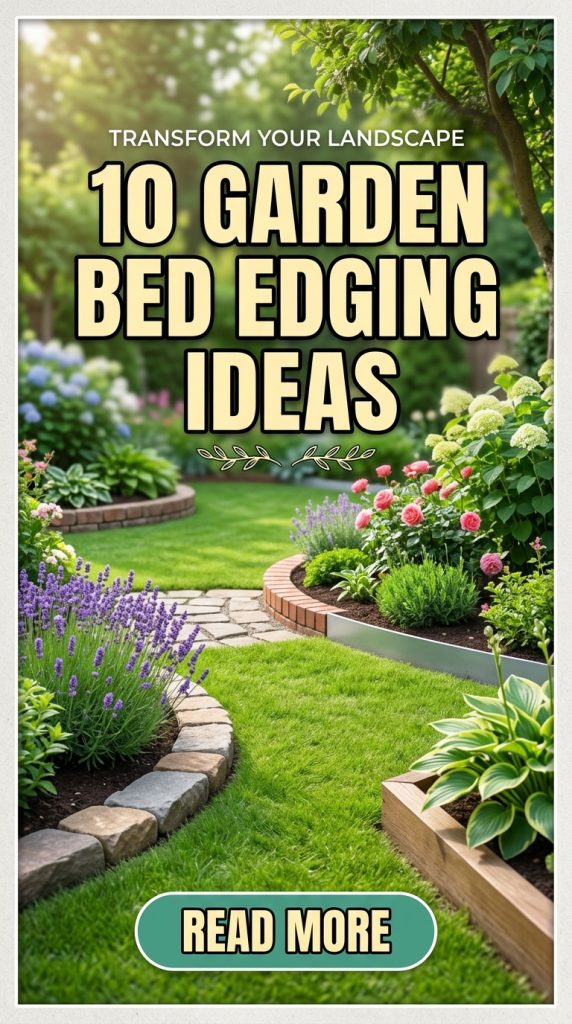
In this Pinterest-style guide, you’ll discover 10 garden bed edging ideas that are budget-friendly, stylish, and easy to implement, along with practical tips for each.
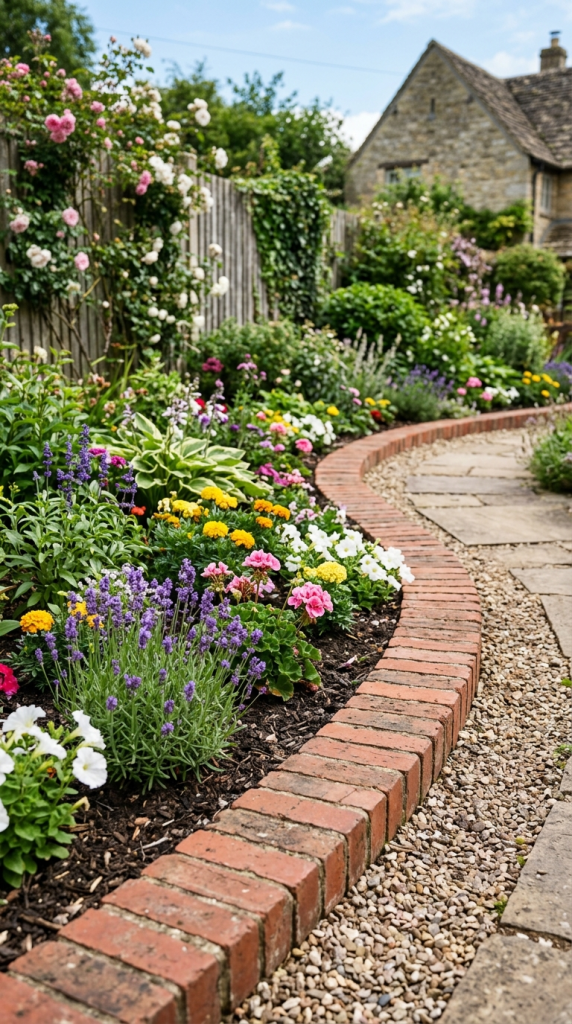
1. Brick Garden Edging
A timeless and classic option.
Why It Works
Durable, affordable, and suits almost any garden style.
How to Install
- Dig a shallow trench along the edge.
- Lay bricks side by side or vertically.
- Secure with soil or sand.
Materials Needed
- Bricks
- Sand or soil
Pro Tips
- Use red bricks for a traditional look
- Create patterns like herringbone for style
2. Stone Edging
Natural and elegant.
Why It Works
Blends beautifully with plants and landscaping.
How to Install
- Place stones along the border.
- Stack or line them as desired.
Materials Needed
- Natural stones
Pro Tips
- Mix different sizes for a rustic look
- Ensure stability by partially burying stones

3. Wooden Log Edging
Perfect for a rustic garden.
Why It Works
Adds warmth and a natural feel.
How to Install
- Cut logs into equal sizes.
- Place them vertically or horizontally.
- Secure into the ground.
Materials Needed
- Wooden logs
Pro Tips
- Use treated wood to prevent rot
- Keep spacing consistent

4. Metal Edging Strips
Sleek and modern.
Why It Works
Creates clean lines and long-lasting edges.
How to Install
- Place metal strips along the border.
- Secure with stakes.
Materials Needed
- Metal edging strips
Pro Tips
- Choose rust-resistant materials
- Ideal for contemporary gardens

5. Concrete Edging
Strong and permanent.
Why It Works
Provides a polished and durable finish.
How to Install
- Pour concrete into a trench.
- Shape and smooth edges.
- Let it cure.
Materials Needed
- Concrete mix
- Mold or form
Pro Tips
- Add curves for a softer look
- Stamp or texture for design

6. Gravel or Pebble Edging
Simple and budget-friendly.
Why It Works
Improves drainage and adds texture.
How to Install
- Dig a shallow trench.
- Fill with gravel or pebbles.
Materials Needed
- Gravel or pebbles
Pro Tips
- Use edging liner underneath
- Choose contrasting colors
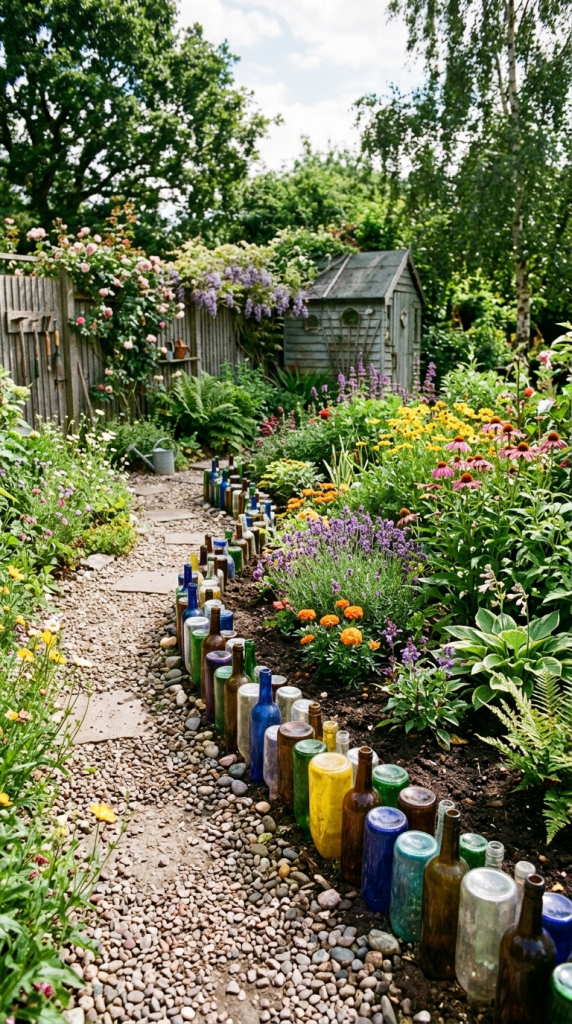
7. Recycled Bottle Edging
Creative and eco-friendly.
Why It Works
Adds a unique and colorful touch.
How to Install
- Collect glass or plastic bottles.
- Bury them upside down along the edge.
Materials Needed
- Bottles
Pro Tips
- Use similar colors for consistency
- Ensure bottles are securely placed
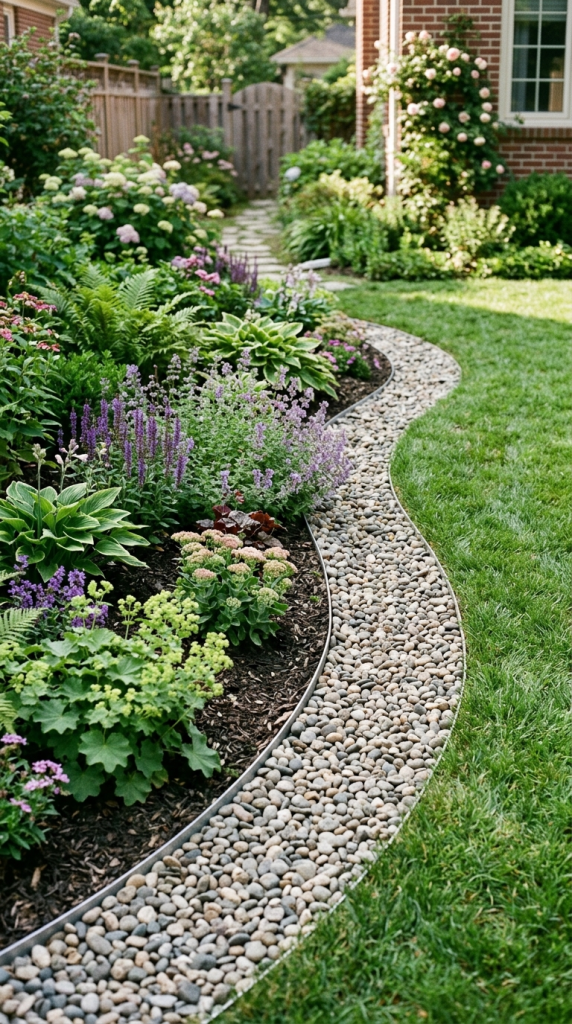
8. Paver Edging
Neat and structured.
Why It Works
Easy to install and visually appealing.
How to Install
- Dig a trench.
- Place pavers in a straight or curved line.
- Secure with sand.
Materials Needed
- Pavers
- Sand
Pro Tips
- Level the ground for stability
- Use different shapes for variety
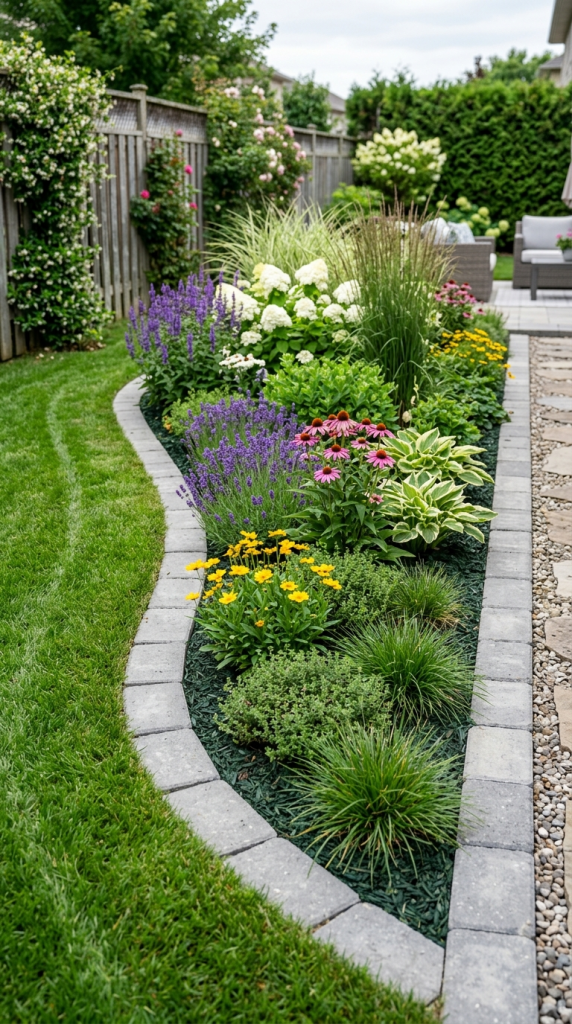
9. Plastic or Rubber Edging
Affordable and flexible.
Why It Works
Easy to install and great for curved designs.
How to Install
- Place edging along the garden bed.
- Secure with stakes.
Materials Needed
- Plastic or rubber edging
Pro Tips
- Choose UV-resistant materials
- Ideal for DIY beginners
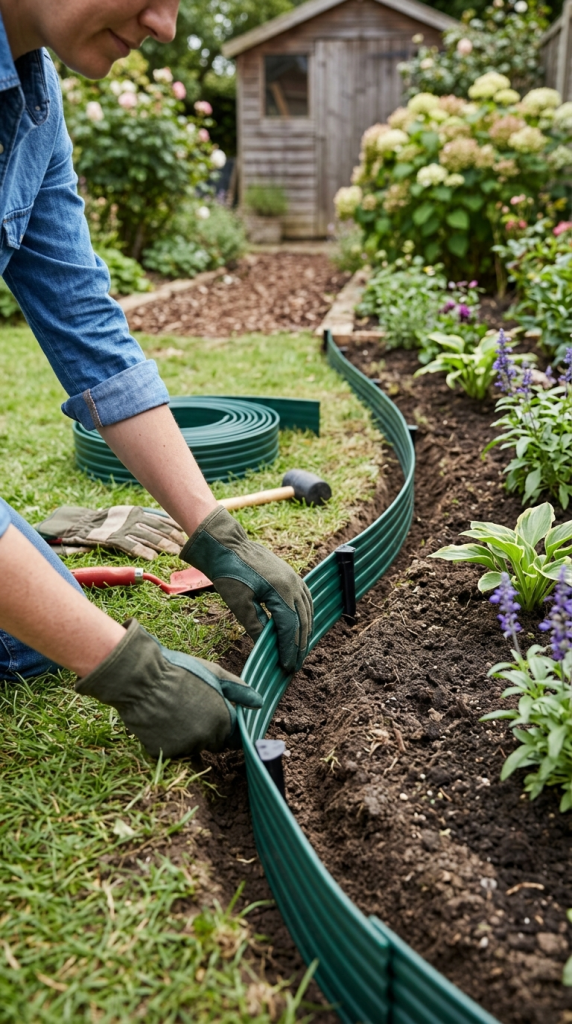
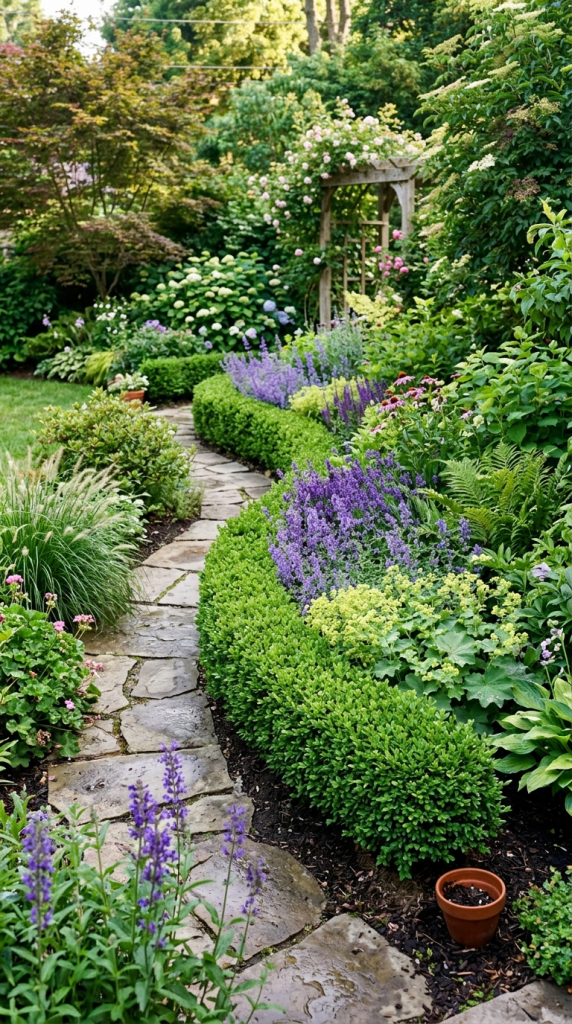
10. Living Plant Edging
A soft and natural border.
Why It Works
Adds greenery while defining spaces.
How to Install
- Plant low-growing plants along the edge.
- Trim regularly to maintain shape.
Materials Needed
- Small plants or shrubs
Pro Tips
- Use herbs or ground cover plants
- Keep edges trimmed for a clean look
Final Thoughts
Garden bed edging is a simple upgrade that can completely transform your outdoor space. Whether you prefer natural materials, modern designs, or creative DIY solutions, there’s an option for every style and budget.
The key is to choose edging that complements your garden while being practical and easy to maintain.