Garden labels are essential for keeping track of your plants, herbs, and seedlings—but they can also be a fun way to add personality to your garden. Instead of buying generic markers, you can create your own using simple materials you already have at home.
Below are 10 DIY garden label ideas that are budget-friendly, creative, and perfect for a Pinterest-style garden setup. Each idea includes materials, step-by-step instructions, and pro tips to help you craft beautiful and functional plant markers.
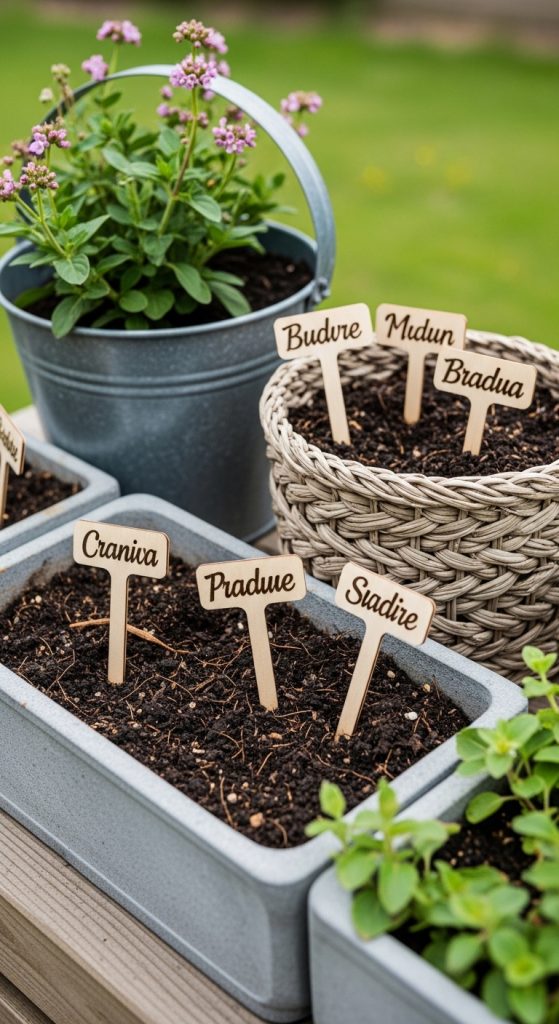
1. Wooden Stick Garden Labels
Why It Works
Simple, natural, and perfect for any garden style.
Materials Needed
- Wooden sticks or craft sticks
- Permanent marker or paint
- Sandpaper (optional)
How to Make
- Smooth the sticks with sandpaper.
- Write plant names using a marker or paint.
- Insert into the soil.
Pro Tip
Seal with waterproof spray to prevent fading.
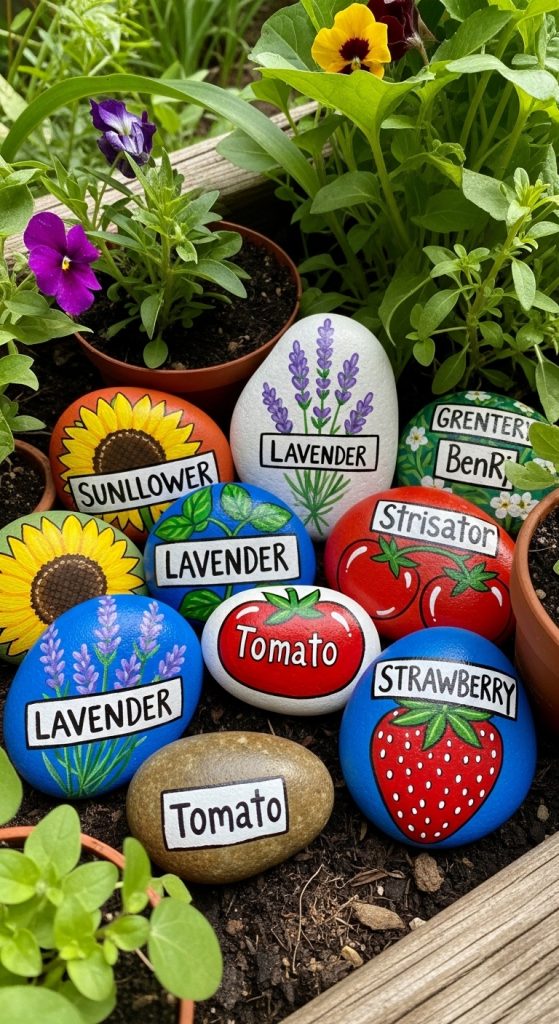
2. Painted Rock Labels
Why It Works
Durable and decorative—great for outdoor gardens.
Materials Needed
- Smooth stones
- Acrylic paint
- Sealant
How to Make
- Clean and dry the stones.
- Paint plant names on each rock.
- Seal for weather protection.
Pro Tip
Use bright colors for easy visibility.
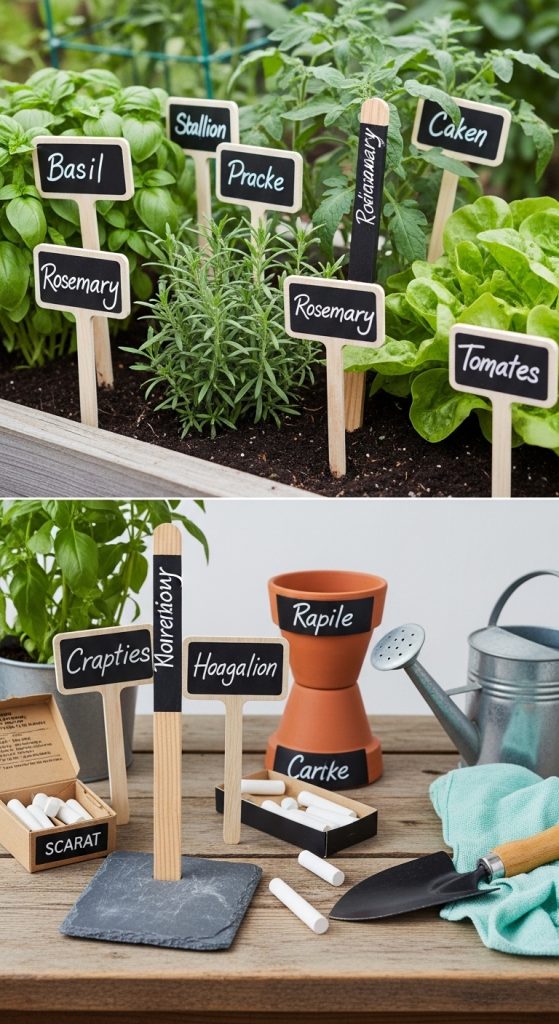
3. Chalkboard Garden Markers
Why It Works
Reusable and perfect for changing plant labels.
Materials Needed
- Wooden or plastic markers
- Chalkboard paint
- Chalk
How to Make
- Paint the surface with chalkboard paint.
- Let dry completely.
- Write plant names with chalk.
Pro Tip
Reapply chalk after rain for clarity.
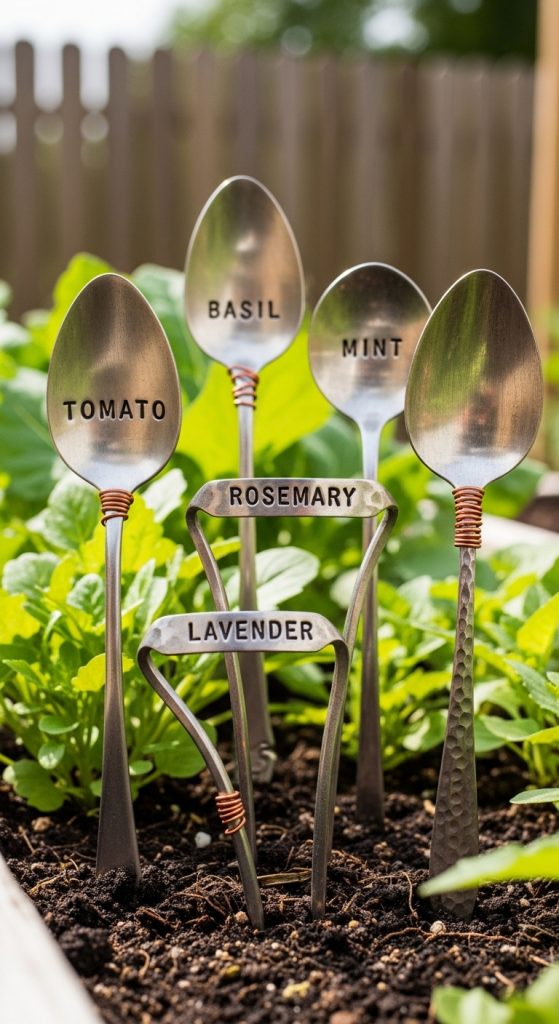
4. Spoon Garden Labels (Upcycled)
Why It Works
A creative way to reuse old kitchen items.
Materials Needed
- Old metal or plastic spoons
- Hammer (for flattening if needed)
- Permanent marker or engraving tool
How to Make
- Flatten the spoon head if necessary.
- Write or engrave plant names.
- Insert into soil.
Pro Tip
Metal spoons last longer outdoors.
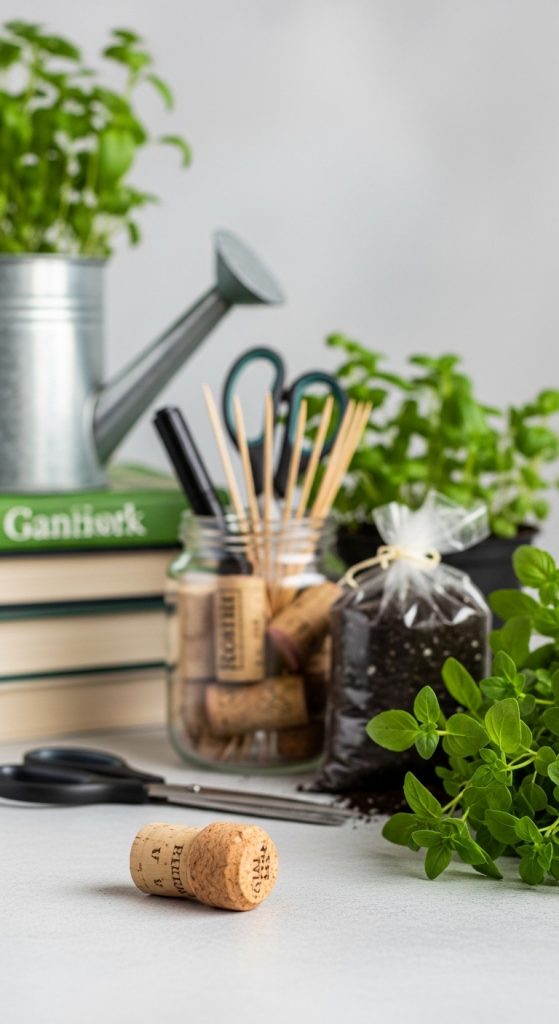
5. Wine Cork Labels
Why It Works
Eco-friendly and perfect for small herb gardens.
Materials Needed
- Wine corks
- Toothpicks or skewers
- Marker
How to Make
- Write plant names on corks.
- Insert a toothpick into the cork.
- Place in soil.
Pro Tip
Great for indoor pots and small planters.
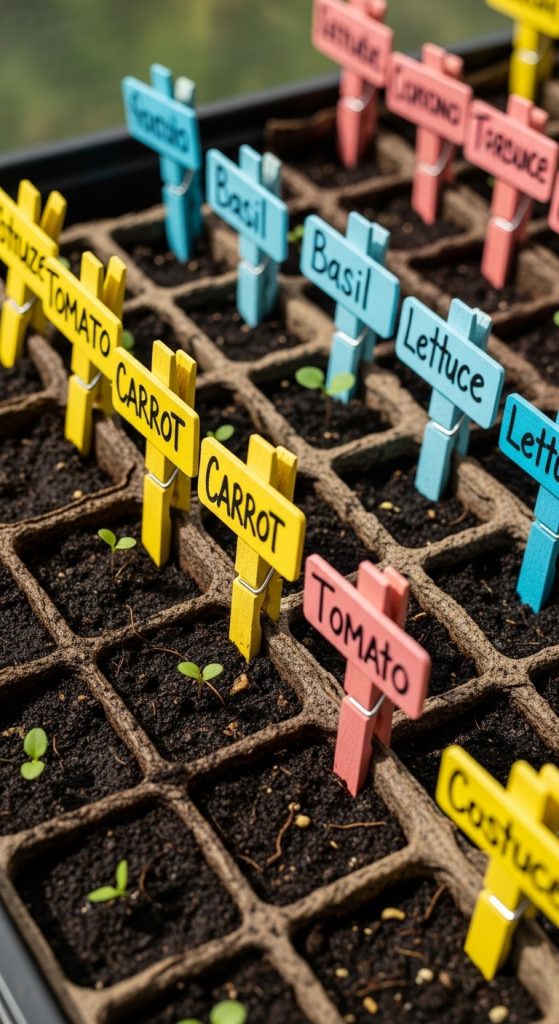
6. Clothespin Plant Markers
Why It Works
Quick, easy, and great for labeling seed trays.
Materials Needed
- Wooden clothespins
- Marker or paint
How to Make
- Write plant names on clothespins.
- Clip onto pots or trays.
Pro Tip
Paint them in different colors for organization.
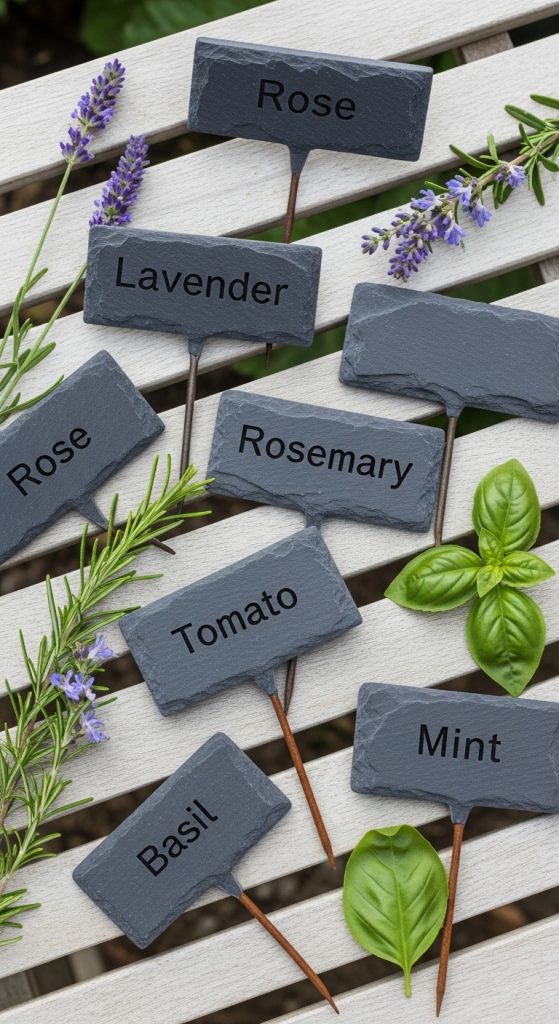
7. Slate Tile Labels
Why It Works
Elegant and long-lasting for outdoor gardens.
Materials Needed
- Small slate tiles
- Chalk or paint marker
How to Make
- Write plant names on tiles.
- Place near plants or attach to stakes.
Pro Tip
Use white paint pens for a clean, modern look.
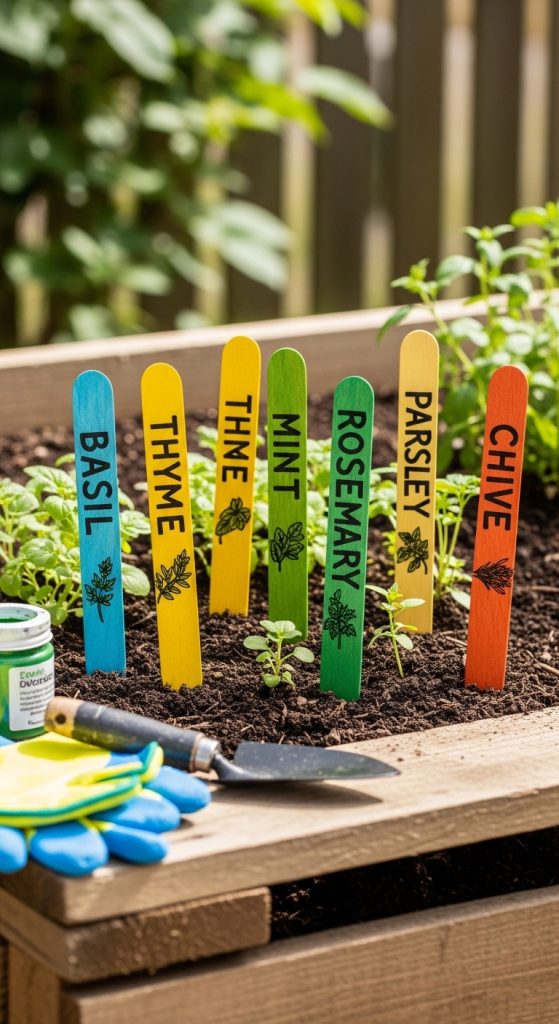
8. Popsicle Stick Labels
Why It Works
Affordable and perfect for beginners.
Materials Needed
- Popsicle sticks
- Marker
- Paint (optional)
How to Make
- Write plant names on sticks.
- Decorate if desired.
- Insert into soil.
Pro Tip
Use waterproof markers to prevent smudging.
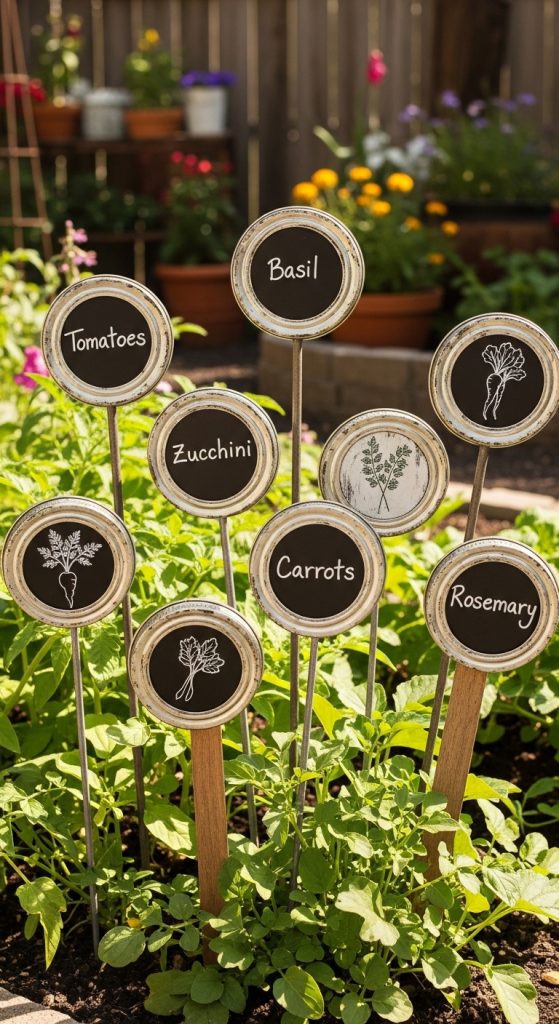
9. Mason Jar Lid Labels
Why It Works
Unique and great for rustic garden decor.
Materials Needed
- Mason jar lids
- Wooden stakes
- Glue
How to Make
- Write plant names on lids.
- Attach to stakes.
- Place in soil.
Pro Tip
Use weather-resistant paint for durability.
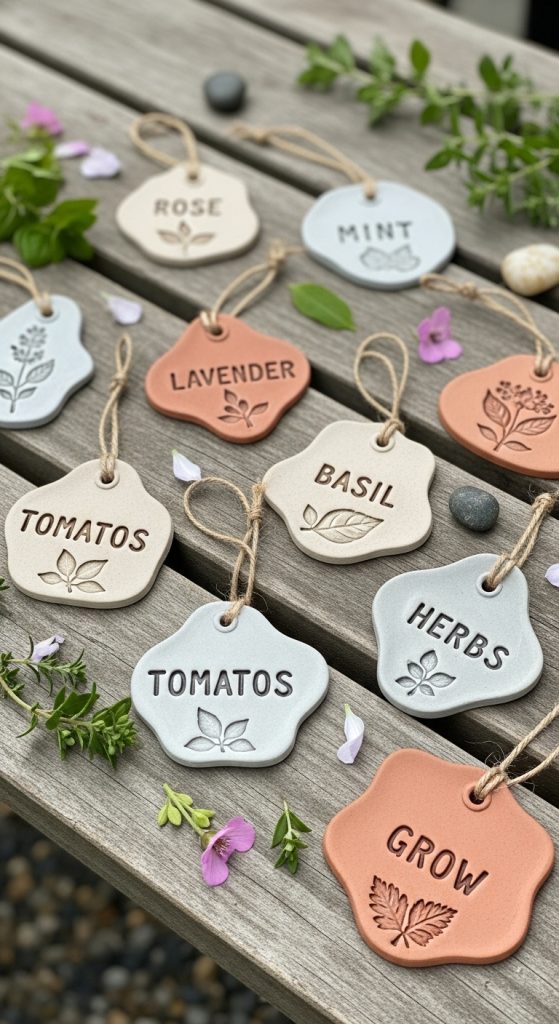
10. Clay Tag Garden Labels
Why It Works
Customizable and perfect for decorative gardens.
Materials Needed
- Air-dry clay
- Rolling pin
- Stamps or tools
How to Make
- Roll out clay and cut into shapes.
- Stamp or write plant names.
- Let dry and attach to stakes.
Pro Tip
Seal with varnish to make them waterproof.
Final Thoughts
DIY garden labels are a simple yet impactful way to organize your plants while adding a creative touch to your garden. Whether you prefer rustic wood, colorful rocks, or elegant slate, there’s a style here for every gardener.
These projects are quick, fun, and perfect for all skill levels. With just a little creativity, you can turn everyday items into beautiful, functional garden markers that last throughout the growing season.