When it comes to classic children’s activities, few materials offer the versatility, affordability, and sheer creative potential of the humble wooden craft stick. Whether you call them tongue depressors, wooden spoons, or popsicle sticks, these simple wooden slats are a staple of classrooms, summer camps, and home playroom art cabinets worldwide. Engaging in hands-on crafting projects is not just a wonderful way to pass a rainy afternoon; it is also a vital component of early childhood development. Crafting helps young children refine their fine motor skills, boost their spatial awareness, practice patience, and express their unique personalities through color, texture, and structural design.
In this comprehensive guide, we have curated ten of the absolute best DIY popsicle stick craft projects that kids of all ages can enjoy. These activities range from incredibly simple tasks perfect for toddlers and preschoolers to more structured, functional engineering projects suitable for older elementary school children. By using everyday household items like non-toxic school glue, washable paint, colorful yarn, googly eyes, and construction paper, your family can transform a simple box of wooden sticks into functional desk organizers, whimsical toys, holiday decorations, and imaginative play sets. Read on to discover step-by-step instructions, material lists, and creative variations for these wonderful, budget-friendly kids’ crafts.
1. Colorful Rainbow Picture Frames
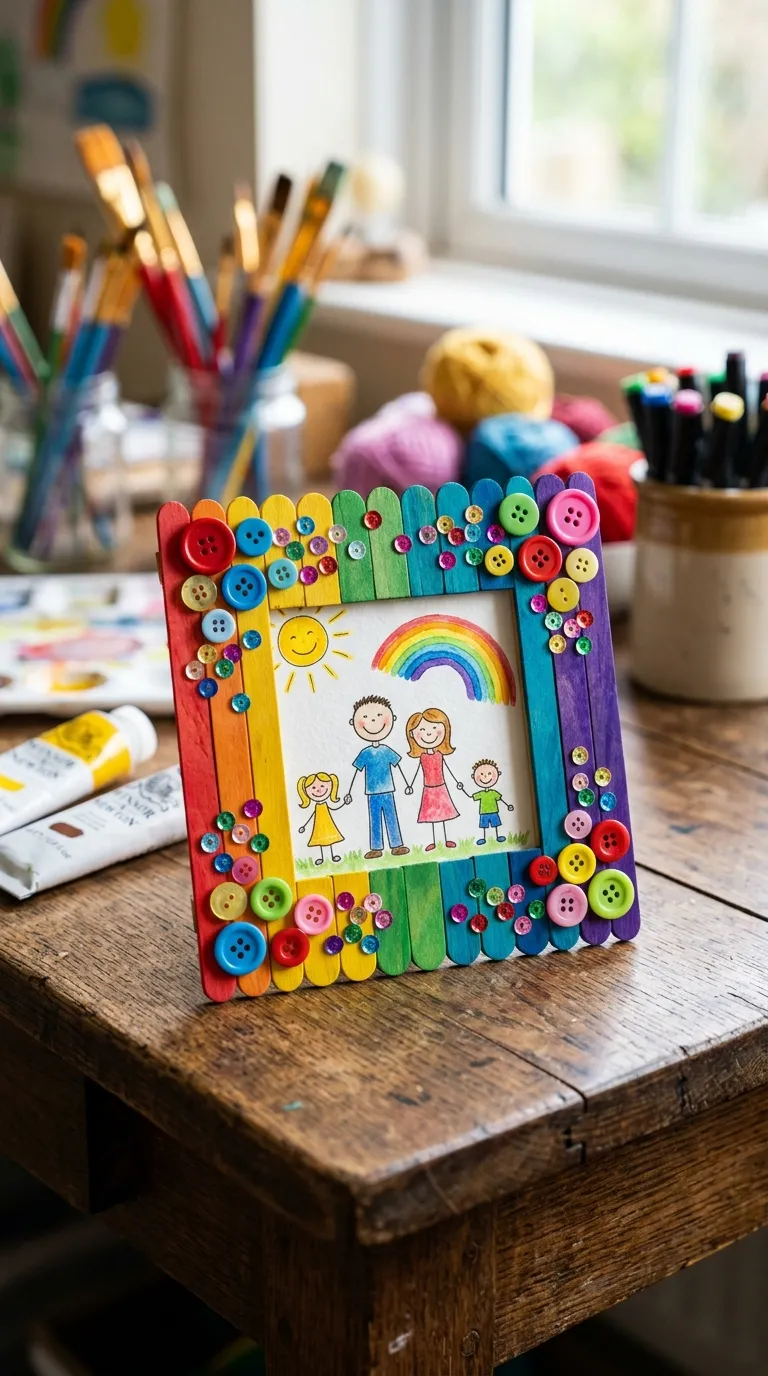
Creating a personalized photo frame is a classic childhood rite of passage. This project allows kids to showcase their favorite family memories, vacation snapshots, or school photos while experimenting with color theory and basic geometry. To start, you will need eight standard-sized popsicle sticks, non-toxic craft glue, acrylic or washable paint in rainbow colors, paintbrushes, and decorative embellishments such as sequins, buttons, or glitter glue. If you prefer to skip the painting phase to keep cleanup easy, you can purchase pre-colored craft sticks at any local hobby store.
To construct the frame, lay four craft sticks down in a square shape, overlapping the corners, and glue them together to form the base. Once this initial square is dry, glue another layer of four sticks directly on top of the first layer to create a sturdier, recessed frame. After the glue has cured completely, let your child paint each side of the frame in a different vibrant hue. To display a photo, simply cut a picture slightly larger than the central opening, apply a thin line of glue along the back edges of the frame, and press the photo face-down. You can attach a loop of colorful yarn to the back to hang the frame on a wall, or glue a diagonal stick on the reverse side to act as an easel stand for a tabletop display.