There’s something quietly satisfying about a handmade rope basket sitting in the corner of a room, holding blankets, magazines, or a tangled mess of phone chargers. Rope baskets have a way of looking effortlessly put-together, like something you’d find in a cozy home decor magazine or a curated Pinterest board. The best part? Most of them are absolutely beginner-friendly, and the materials cost only a few dollars.
Whether you’re trying to tame clutter in the bathroom, add charm to your entryway, or just want a cozy weekend project that doesn’t require a trip to the hardware store, DIY rope baskets are one of the most rewarding crafts around. They soften up any space, work with farmhouse, coastal, boho, and modern decor alike, and they make wonderful handmade gifts too.
This roundup pulls together ten genuinely different DIY rope basket ideas for home storage, from the classic coiled rope bowl to chunky knit-style baskets, wall-mounted holders, and stackable organizers. Each one comes with clear instructions, material lists, and practical tips so you can pick the project that fits your skill level and your space.
Grab a hot drink, pull up your crafting chair, and let’s get making.
If you’re searching for a quick answer before diving into the full project list, here’s the short version: DIY rope basket ideas for home storage are affordable, beginner-friendly crafts made primarily from cotton rope, jute, or t-shirt yarn. You can coil, sew, knit, or weave the rope into baskets for every room in your home, including bathrooms, entryways, living rooms, and nurseries. Most projects take under two hours and cost less than $15 in supplies.
1. Classic Coiled Rope Basket
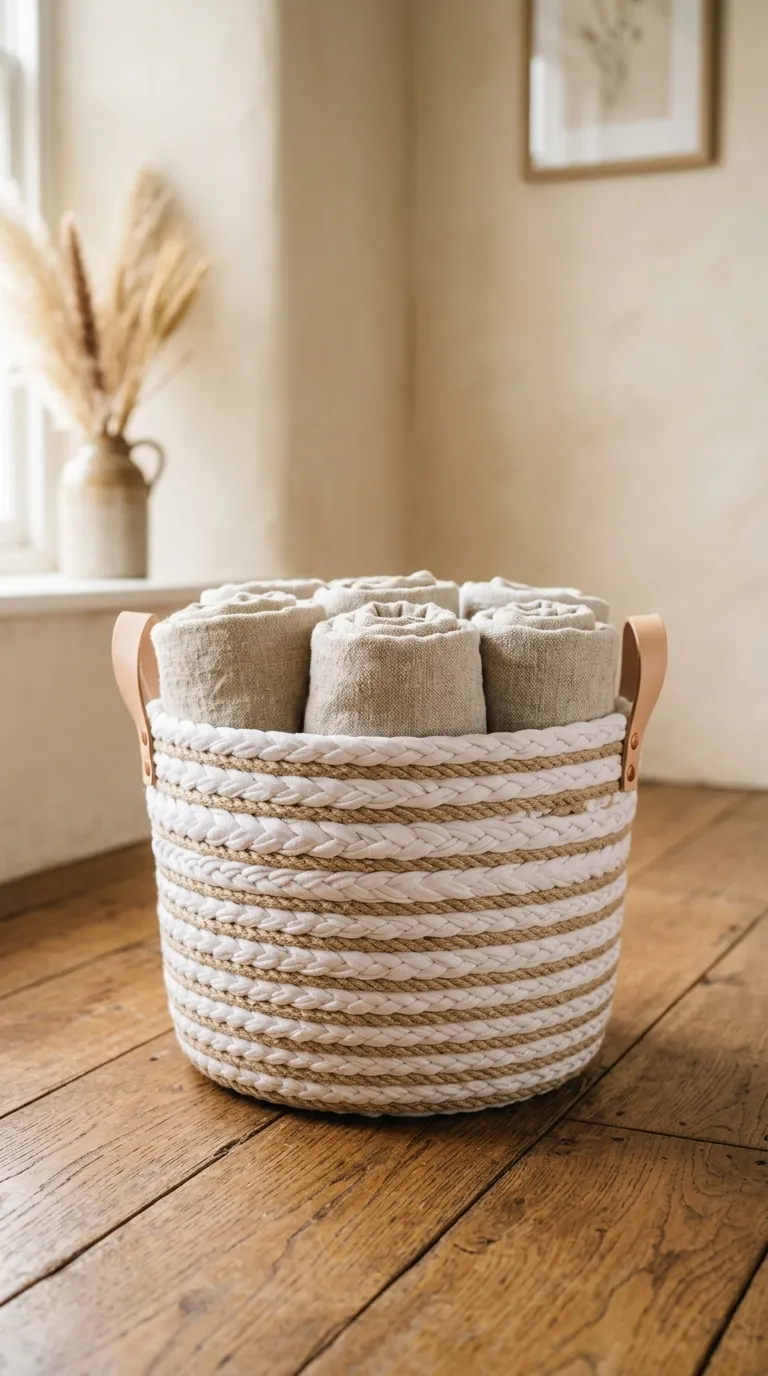
This is the project that started the whole rope basket craze, and for good reason. A classic coiled rope basket is sturdy, attractive, and surprisingly forgiving for first-timers. You build the sides by spiraling cotton rope on top of itself and securing each row with glue or stitching.
Materials: 100 feet of 3-strand cotton rope, fabric scraps or old t-shirts cut into long strips, hot glue gun, sewing needle and thread (optional), scissors.
Instructions: Start by tying the end of your fabric strip to the very tip of the rope using a tight knot. Wrap the fabric diagonally across the rope, overlapping as you go, and add a dot of hot glue every inch or so to keep things secure. Begin coiling the rope into a flat spiral for the base, gluing each row to the one below. Once the base is the size you want (roughly 5–7 inches across works well for a starter basket), start angling the coil upward to form the walls. Continue until your basket reaches the desired height.
Time: 90–120 minutes. Difficulty: Beginner.
Use a thinner cotton clothesline rope for a refined look or chunky manila rope for a more rustic feel. If your fabric strip runs out, just overlap the new one with the old and keep wrapping. Keep the tension steady so the basket holds its shape.