10. Crystal Healing Bracelet with Stretch Cord
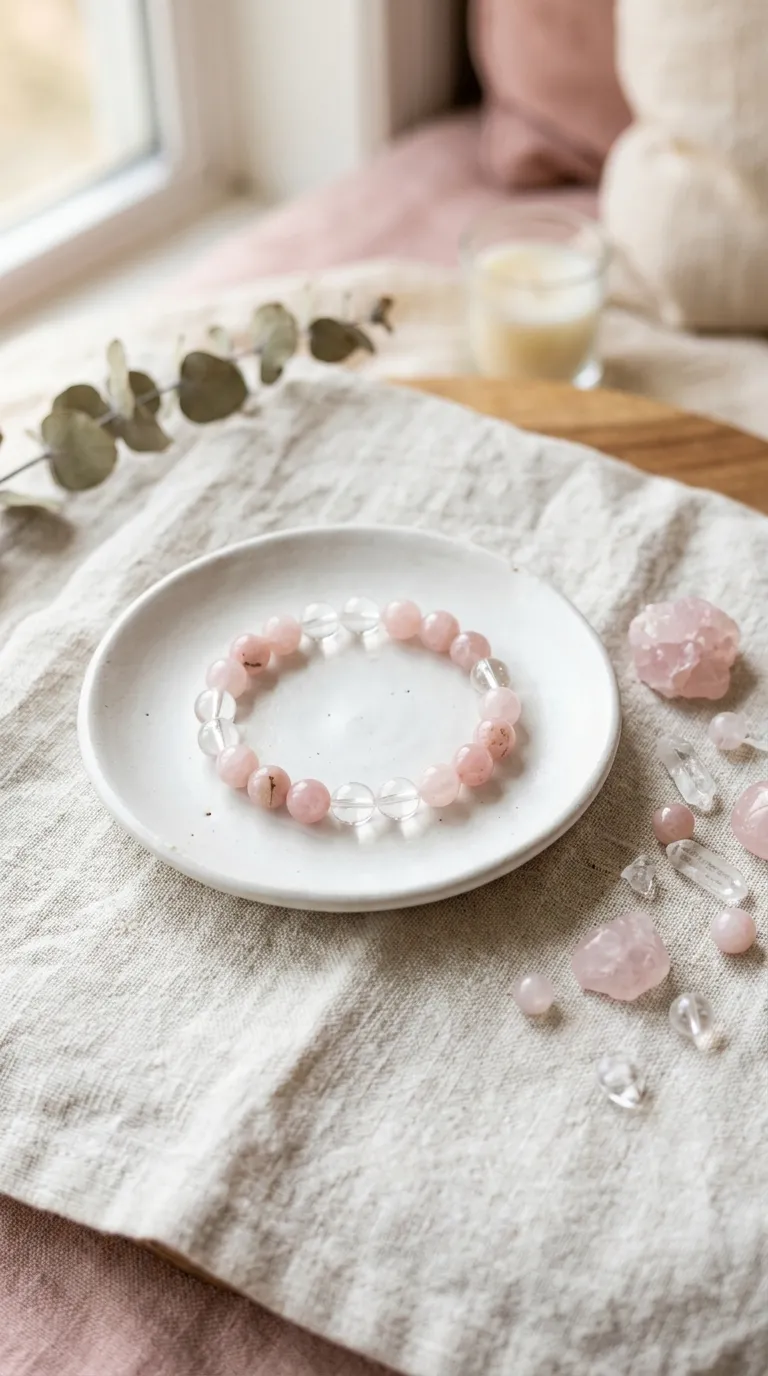
Crystal bracelets have become incredibly popular, and the basic design is one that beginners can absolutely tackle. The pattern uses natural stone beads, which often have slight variations in color and size that give each bracelet its own character.
Popular stones for beginners include rose quartz (soft pink), amethyst (purple), tiger’s eye (golden brown with bands), and clear quartz. Most craft stores sell them in strands with beads already pre-drilled, which makes stringing fast and easy.
Materials: Stretch cord (0.8mm), a strand of natural stone beads (8mm is a common size), optional accent beads (gold or silver), scissors, jewelry glue.
Time: 20 to 30 minutes
Difficulty: Beginner-friendly
String the beads in whatever order feels right to you. Some people like to follow traditional crystal layouts, while others simply choose the colors they’re drawn to. Tie off with a surgeon’s knot, dab with glue, and trim the ends.
For a more intentional look, alternate one stone bead with one small gold or silver accent bead. This adds a touch of shine without overpowering the natural beauty of the stones. Crystal bracelets also make thoughtful gifts, especially when paired with a small card explaining the traditional meaning of the stone inside.
💡 Pro Tip: When working with natural stones, lay them all out before stringing to make sure you’re happy with the color flow. Some strands have noticeable color variations, and a quick rearrange can make the difference between a bracelet that looks random and one that looks intentional.
No matter which of these patterns you start with, the most important thing is to give yourself permission to experiment. Maybe you’ll fall in love with the meditative rhythm of seed bead work. Maybe you’ll discover a knack for designing layered multi-strand pieces. Maybe you’ll just want to make a dozen wooden bead bracelets in every color and give them all away. All of those outcomes are good ones.
Beading is one of those hobbies that grows with you. The first bracelet you make might feel a little rough around the edges, and that’s completely normal. By the tenth one, your knots will be tighter, your patterns will be bolder, and you’ll have a stack of handmade jewelry that no one else owns. Pick a pattern that speaks to you, gather your materials, and give yourself an unhurried afternoon to create. Your wrists (or someone else’s) will thank you.
What type of beads are best for beginner bracelet projects?
For beginners, larger beads in the 6mm to 10mm range are the easiest to work with because they’re easier to handle, string quickly, and don’t require as much patience as tiny seed beads. Acrylic and wooden beads are the most affordable and come in countless colors. Glass beads have more shine and weight but can chip if dropped, while gemstone beads are the most expensive but offer natural beauty and unique patterns.
What cord should I use for a stretch bracelet?
Clear or colored stretch cord, also called elastic cord, is the standard choice. A thickness of 0.7mm or 0.8mm works well for most bead sizes. Look for cord specifically labeled for jewelry making, since regular elastic can stretch out over time. Some crafters prefer stretchy jewelry wire, which has a similar feel but holds knots more securely.
How do I keep my bracelet knots from coming undone?
A surgeon’s knot is the most secure option for stretch cord. After tying, dab a small amount of jewelry glue or clear nail polish directly onto the knot and let it dry completely before wearing. Trimming the cord ends close to the knot also reduces the chance of the knot working itself loose over time.
Can I make beaded bracelets without any special tools?
Absolutely. Many beginner patterns only require scissors, a flat surface, and your hands. Stretch bracelets, friendship bracelets, and wooden bead projects can all be completed with no specialized tools. As you progress to projects with clasps and crimp beads, a basic set of flat nose and round nose pliers becomes helpful but isn’t strictly required for every project.
How long does a homemade beaded bracelet usually last?
A well-made beaded bracelet can last for years with reasonable care. Stretch cord is the most common weak point, and may eventually need to be replaced after one to two years of regular wear. Bracelets made with beading wire and crimp beads tend to last longer, especially if you remove them before showering, swimming, or sleeping.
What’s the best way to measure my wrist for a bracelet?
Use a flexible measuring tape around your wrist where you’d normally wear a bracelet. Add about half an inch for a comfortable fit, or a full inch if you prefer a looser feel. For stretch bracelets, this extra room is what allows the bracelet to slide over your hand. If you don’t have a measuring tape, wrap a strip of paper around your wrist, mark the length, and measure it against a ruler.
Where can I buy beads and supplies for these projects?
Local craft stores like Michaels, JOANN, and Hobby Lobby carry a wide selection of beads, cord, and findings. Online retailers like Amazon, Etsy, and Fire Mountain Gems offer even more variety, often at lower prices when buying in bulk. Thrift stores and estate sales can also be excellent sources for unique vintage beads at bargain prices.
Beaded bracelets are a small, joyful kind of magic. They take a handful of supplies and turn them into something you can wear, gift, or treasure. Whatever pattern you start with, give yourself room to play, make mistakes, and try again. Before long, you’ll have a little collection of pieces that reflect your taste, your hands, and your story. Happy beading.