4. Charm Bracelet with Spacer Beads
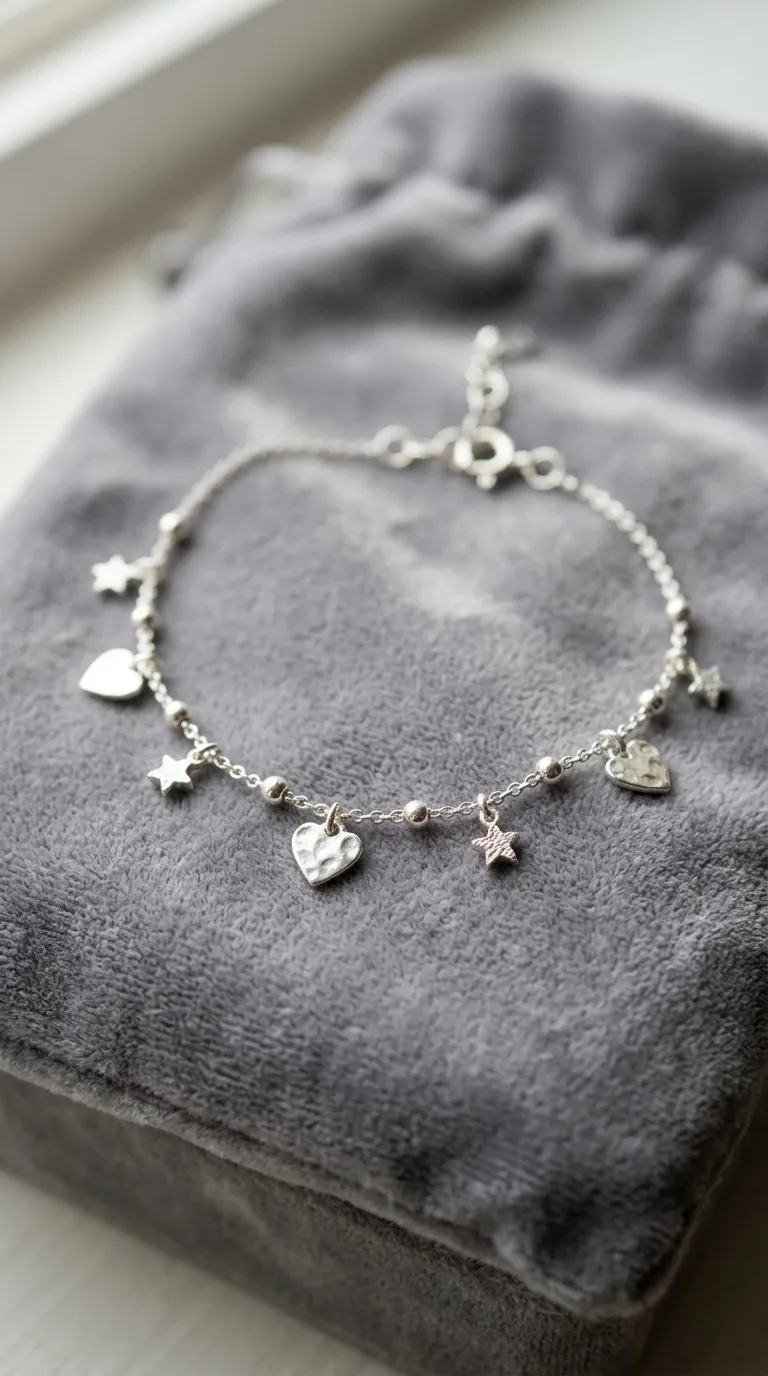
Charm bracelets have a way of feeling deeply personal, which is part of their lasting appeal. The beginner version here uses small spacer beads between each charm, which keeps the charms from bumping into each other and creates a balanced, breathable design.
You’ll want a lobster clasp for this one, plus a few jump rings and crimp beads. Crimp beads are tiny metal beads that flatten down to hold your cord in place, and they’re a skill worth learning early since you’ll use them in lots of future projects.
Materials: Beading wire (thin, flexible wire), 4mm spacer beads, three to five charms, 4mm crimp beads, lobster clasp, jump rings, crimp pliers or flat nose pliers.
Time: 1 to 1.5 hours
Difficulty: Beginner to beginner-plus
Cut a piece of beading wire about three times your wrist measurement. String a crimp bead, then thread the wire through the loop on your clasp, then back through the crimp bead. Squeeze the crimp bead flat with pliers to secure it. From here, string spacer beads and charms in your desired arrangement, then finish the other end the same way.
Charms can be purchased at craft stores in themed sets, or you can repurpose small meaningful objects with a flat loop attached. Hearts, stars, keys, leaves, and tiny animals are all classic charm shapes. This pattern is also lovely as a friendship bracelet when you and a friend each pick a charm that represents the other.
💡 Pro Tip: If you don’t have crimp pliers, regular flat nose pliers work fine. Just squeeze the crimp bead gently and rotate it 90 degrees before squeezing again. This creates a rounder, more secure crimp than a single flat squeeze.