10. Seasonal Motif Toppers
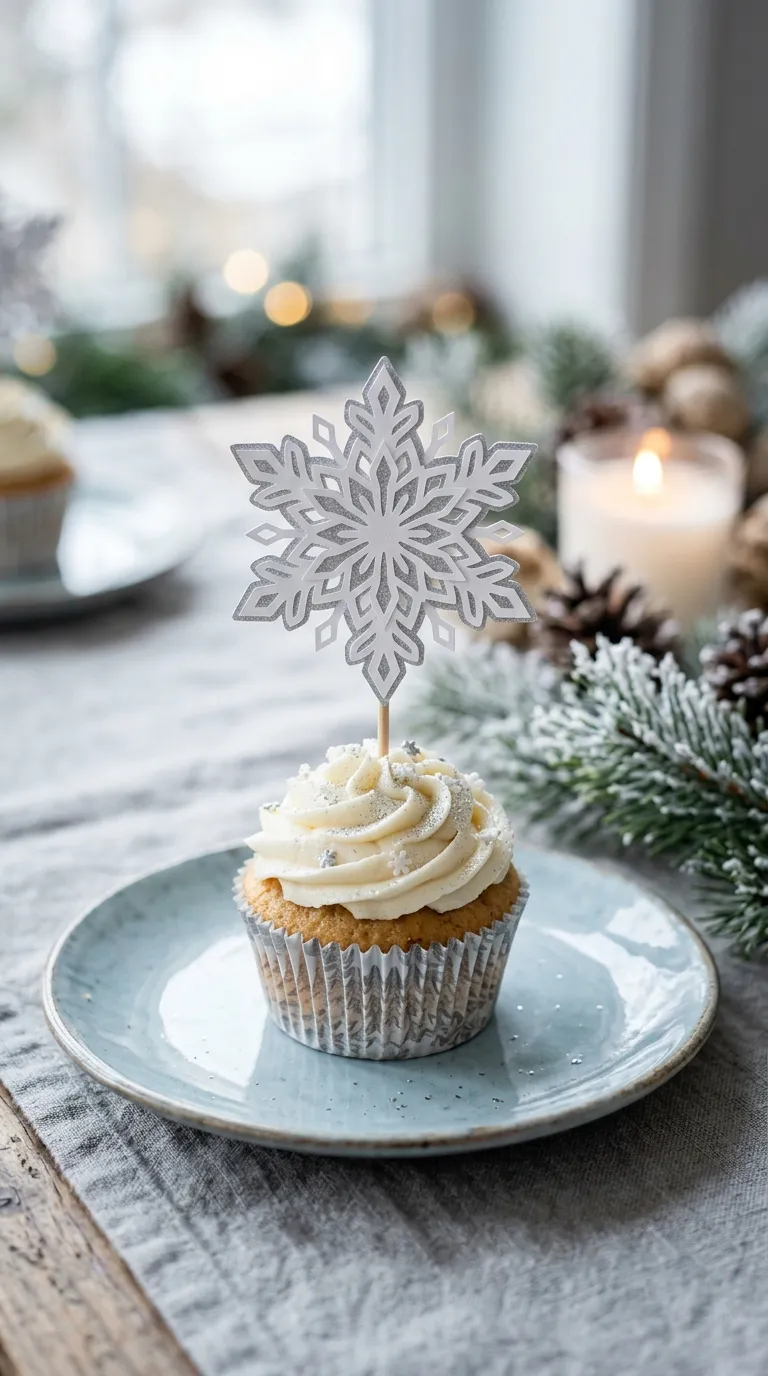
Seasonal motif toppers tie your cupcakes into the time of year, whether it’s snowflakes for a winter birthday, leaves for fall, flowers for spring, or suns and waves for summer. They feel intentional and tied together, even when the rest of the party decor is simple.
Cut shapes from colored cardstock using small craft punches or scissors. Layer two shapes for depth, like a white snowflake on top of a silver one, or a yellow sun on top of an orange circle. Attach each layered shape to a toothpick with a dot of glue, and you’re done.
For a fun twist, add a tiny seasonal element with paper or paint, like a small holly leaf next to a winter snowflake, or a beach umbrella on a summer sun. These little details are what make the toppers feel custom rather than generic.
This project takes about 2 to 3 minutes per topper once your shapes are cut, and a full batch of 12 can be finished in under an hour. Difficulty is easy, and the cost is around five to seven dollars for a full set of craft punches and cardstock.
Budget-friendly alternative: use old greeting cards, magazine pages, or scrap paper in your party color. The shapes don’t need to be perfect to look charming on a cupcake.
What materials do I need to make DIY cupcake toppers at home?
The most common supplies are cardstock, scissors, a hot glue gun, toothpicks or lollipop sticks, and embellishments like glitter, ribbon, or paint. Most projects only need 3 to 5 basic supplies, and many of them can be found at dollar stores or repurposed from around the house.
How far in advance can I make cupcake toppers?
Most paper, fabric, and wood toppers can be made 2 to 3 days in advance and stored in a dry container. Fondant and chocolate-dipped toppers are best made the day before or the morning of the party. Edible image toppers should be applied within a few hours of serving for the best appearance.
Are DIY cupcake toppers safe to eat with the cupcakes?
It depends on the materials. Toothpicks, lollipop sticks, and skewers should always be removed before eating. Paper, fabric, and wood toppers are decorative only. Edible options like fondant, chocolate, and printed frosting sheets can be eaten along with the cupcake.
How do I keep toppers from sinking into the frosting?
Use a sturdier base like a lollipop stick, a wooden skewer, or a doubled-up toothpick. Inserting the stick about half an inch into the cupcake (not just into the frosting) also helps. For very soft frostings like whipped cream, chill the cupcakes briefly before adding toppers.
Can I make these toppers with kids?
Absolutely. Paper rosettes, photo toppers, fabric flowers, and seasonal motifs are all great projects to do with children. Just save the hot glue gun steps for an adult, and offer white school glue as a kid-friendly alternative for most attachments.
What’s the most budget-friendly cupcake topper idea?
Paper-based toppers, like rosettes, mini banners, and seasonal motifs, are usually the cheapest. A full batch can be made for under five dollars using a single pack of cardstock and basic craft supplies you likely already have at home.
How do I match cupcake toppers to a party theme?
Choose two or three colors from your party palette and stick to them across all the toppers. Use shape and texture for variety, like circles, triangles, and flowers, in the same color family. Adding a small consistent element, like a sprinkle of glitter or a tiny bow, also helps everything feel coordinated.
There you have it, ten genuinely different ways to dress up a cupcake without spending a fortune or relying on a bakery. The best part of making your own toppers is that they can be tailored to whoever you’re celebrating, and that personal touch always shows. Pick one idea that matches your party’s mood, give yourself a little time the day before, and don’t be surprised if your guests assume you bought them. If you try one of these ideas, I’d love to hear how it turned out, and which one you picked for your celebration.