There’s something deeply satisfying about walking through your home and spotting pieces that you made with your own two hands. A Cricut machine opens up a creative world where blank walls, plain pillows, and ordinary shelves become canvases for personal expression. Whether you have a Cricut Maker, an Explore Air, or the newer Joy, these DIY home decor projects will help you fill your space with personality, warmth, and one-of-a-kind charm.
The best part? You don’t need a craft room full of supplies or a design background to make beautiful things. Most of these projects use affordable materials from your local craft store, and many can be completed in a single afternoon. From cozy wood signs to custom throw pillows, each idea here is approachable for beginners while still feeling fresh enough for seasoned Cricut fans. Grab your favorite blade, pick a project, and get ready to fall in love with your home all over again.
Quick Answer: These 10 DIY Cricut project ideas for home decor cover walls, shelves, tabletops, entryways, and cozy corners. Projects include framed vinyl quotes, customized throw pillows, monogrammed doormats, layered wood signs, seasonal garlands, plant pot labels, canvas wall art, light-up lanterns, wine glass markers, and decorative book spines. Each idea is beginner-friendly, budget-conscious, and designed to be customized with colors, fonts, and finishes that match your personal style.
1. Framed Vinyl Quote Wall Art
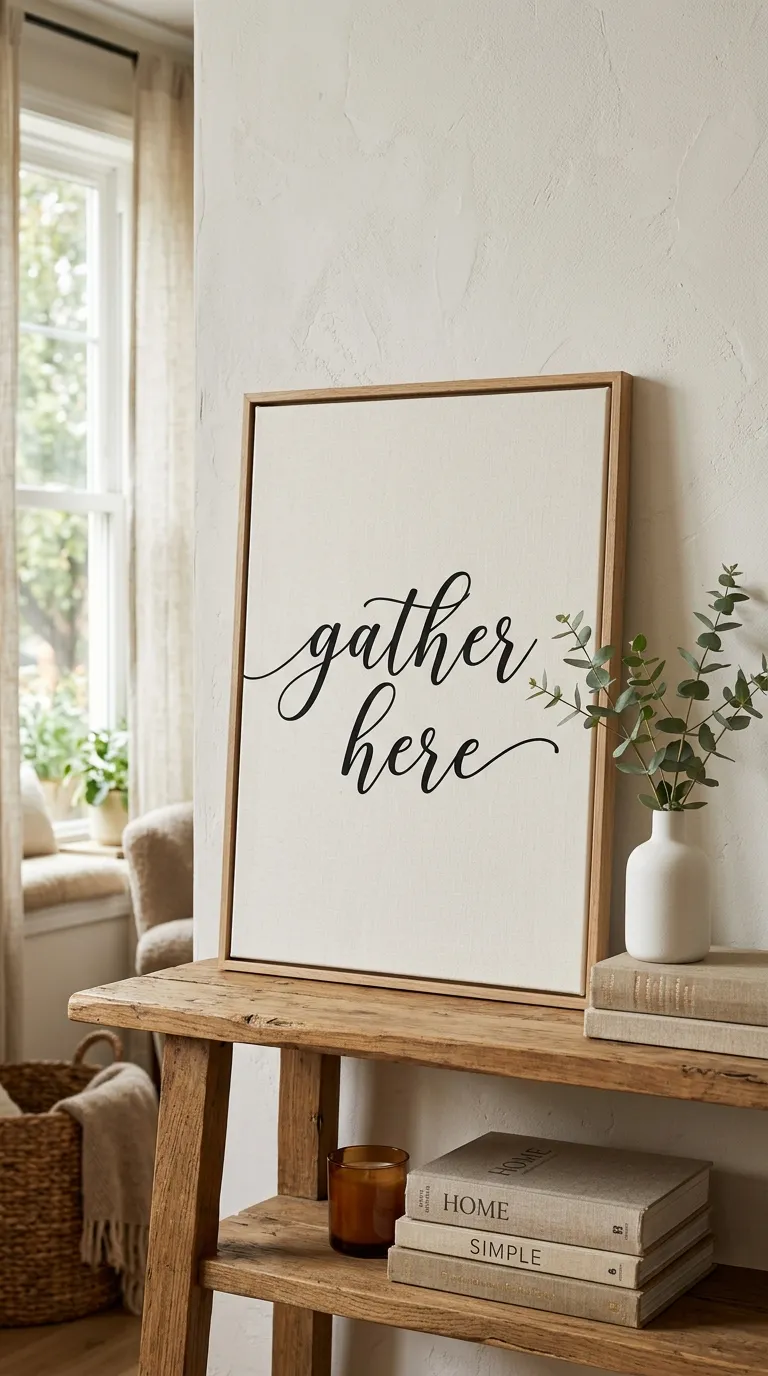
A framed quote wall piece is one of the most rewarding first projects for any Cricut owner. You choose a phrase that means something to you, pick a font that matches your room’s mood, and watch a blank canvas turn into a personal statement piece in under an hour.
For materials, you’ll need adhesive vinyl in your color of choice, a blank canvas or wooden sign from a dollar store, transfer tape, a weeding tool, and a small squeegee or credit card. Cut your design on the Cricut using the vinyl setting, weed away the excess, and apply transfer tape over the letters. Position the design on your canvas, press firmly, and peel the transfer tape away at an angle.
This project takes about 30 to 60 minutes and is rated as beginner-friendly. A common mistake is forgetting to mirror your image if you’re using heat transfer vinyl on fabric, but for adhesive vinyl on canvas, you can keep your text right-side up. Customization is endless, change the quote for the season, pick a script font for romance, or choose bold block letters for a modern farmhouse look. Hang it above a console table or lean it on a mantel for instant warmth.
💡 Pro Tip: Before applying vinyl to a textured canvas, paint a smooth base coat first. Vinyl sticks beautifully to flat surfaces and saves you from lifting edges later.