There’s something quietly satisfying about stringing tiny beads onto a piece of wire and watching a piece of jewelry take shape in your hands. Beaded bracelets have that rare magic of being both a creative outlet and a wearable result. You finish one, slip it onto your wrist, and instantly feel a little spark of “I made that.”
When you’re just starting out, though, the world of beadwork can feel surprisingly overwhelming. There are countless bead types, stringing materials, clasps, and patterns, and tutorials often assume you already know the basics. That’s where this roundup comes in. I’ve gathered ten beginner-friendly beaded bracelet patterns that focus on approachable techniques, affordable materials, and genuinely pretty results you’ll be proud to wear or gift.
These projects range from stretchy stretch bracelets that take under thirty minutes to slightly more involved pieces with clasps and crimp beads. None of them require a kiln, a torch, or years of experience. Just some beads, a few basic tools, and a comfortable spot to work. Grab a cup of coffee, put on a favorite playlist, and let’s get into it.
Quick Answer: The best DIY beaded bracelet patterns for beginners include simple stretch bracelets, alternating color patterns, and stacked bangle styles that use basic materials like elastic cord, seed beads, and stretch cord. Start with a single-strand stretch design using 6mm–8mm beads, then progress to multi-strand patterns, charm bracelets, and pieces with crimp clasps as your confidence grows. Most projects take between 20 minutes and 2 hours and cost under $15 to make.
1. Classic Single-Strand Stretch Bracelet
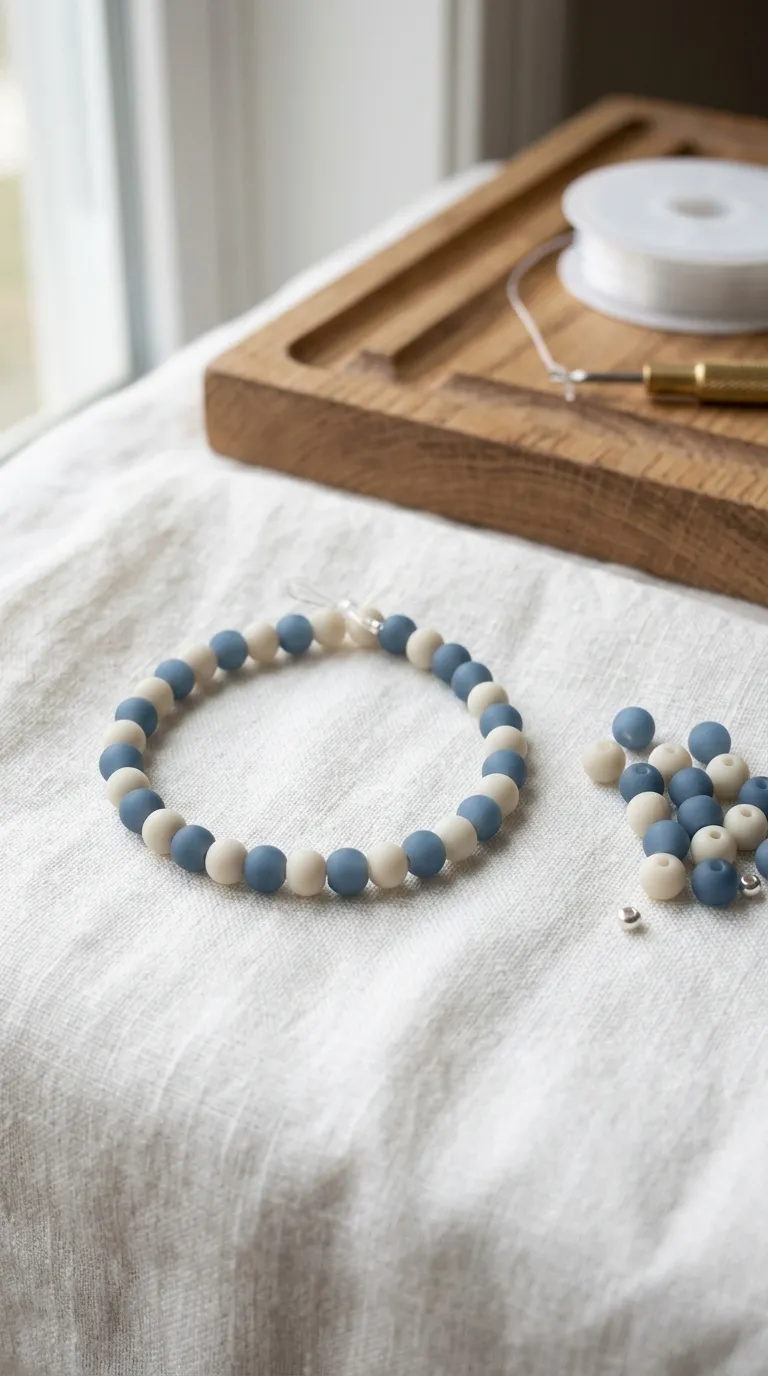
This is the pattern most beginners should start with, and for good reason. A single-strand stretch bracelet uses one continuous piece of elastic cord threaded through a row of beads, then knotted securely. No clasp is required, which means fewer supplies and a much smaller learning curve.
Choose beads in the 6mm to 10mm range for a comfortable fit that slides over your hand without being too heavy. Glass, acrylic, gemstone, or wooden beads all work beautifully here. Stretch your elastic to about three times your wrist measurement to make sure the finished bracelet has enough give to slip on and off comfortably.
Materials: Stretch cord (0.7mm or 0.8mm), beads of choice, scissors, jewelry glue (optional but recommended), a flat surface or bead board.
Time: 20 to 30 minutes
Difficulty: Beginner-friendly
String your beads onto the cord, leaving about an inch of slack on each end. Tie a tight surgeon’s knot, dab a tiny bit of jewelry glue on the knot, and trim the excess cord close to the knot. Let it dry for a few minutes before wearing.
For a more polished look, try grouping three beads of one color, then three of another, to create a rhythmic pattern. You can also use letter beads to spell out a word, name, or short phrase. This pattern is also a great way to use up leftover beads from other projects.