Birthday parties have a way of pulling out the most creative side of us, especially when cupcakes are involved. There’s just something about a little cake with a beautiful topper that makes the whole dessert table feel like it belongs in a magazine. The only problem is that custom cupcake toppers from bakeries can cost more than the cupcakes themselves, and ordering them online means waiting days and hoping they survive shipping.
The good news is that you can absolutely create your own DIY cupcake toppers at home using inexpensive supplies, a little time, and a healthy dose of personal style. Whether you’re planning a backyard bash for a toddler, a milestone birthday for a partner, or a themed party with friends, handmade toppers add a personal touch that store-bought decorations never quite match. They also double as keepsakes when guests take one home.
I’ve pulled together ten genuinely different ideas that range from paper-cut quickies to chocolate-dipped showstoppers. Some take five minutes, others take an afternoon, but all of them are approachable for a first-timer. Grab a cup of coffee, scroll through, and pick the one that matches your party mood best.
Quick Answer: DIY cupcake toppers for birthday parties are handmade decorations that turn plain cupcakes into themed centerpieces. Popular options include paper flowers, printed photo toppers, fondant shapes, chocolate-dipped treats, glitter letters, mini banners, fabric rosettes, edible images, wood slices, and seasonal motifs. Most projects need only basic craft supplies like cardstock, scissors, glue, toothpicks, or skewers, and they can usually be finished in under an hour per batch.
1. Paper Rosette Cupcake Toppers
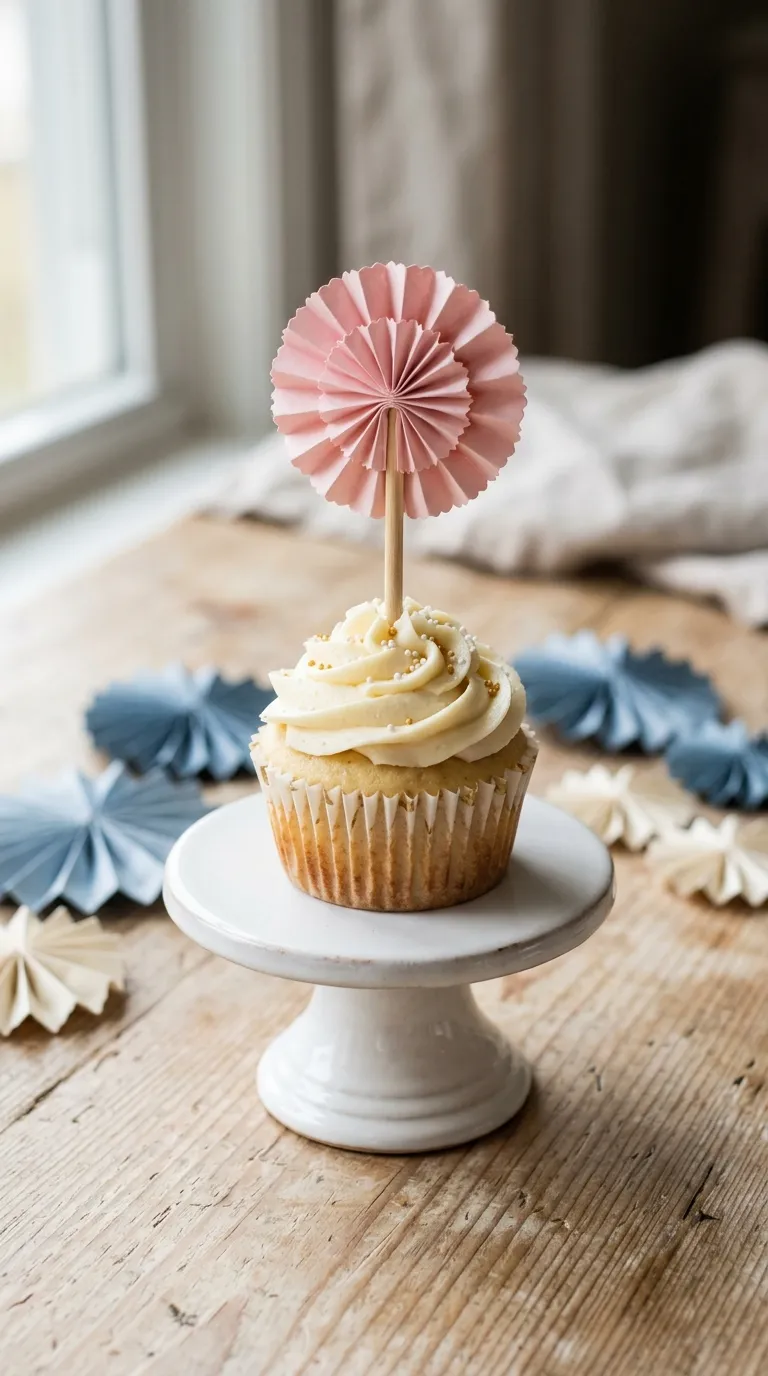
Paper rosettes look fancy, but they’re really just folded and glued paper circles fanned out into a flower shape. The result is a soft, dimensional topper that works beautifully for garden parties, first birthdays, bridal showers, or any celebration with a soft, romantic feel.
To make them, you’ll need a 12×12 inch sheet of scrapbook cardstock in your chosen color, a hot glue gun, scissors, and lollipop sticks or paper straws. Cut the cardstock into strips about 1.5 inches wide and 12 inches long. Score lightly down the center of each strip, then fold along the score. Snip small notches along one long edge so the rosette will fan out evenly.
Glue the notched edge as you roll the strip into a tight circle, and you’ll see a flower shape emerge. Once dry, attach the back to a lollipop stick with a dot of hot glue. A full rosette takes about 4 minutes once you get into a rhythm, and a dozen toppers can be finished in under an hour.
These are beginner-friendly and forgiving. Use patterned paper for a vintage feel, or layer two colors for extra depth. For a child’s party, try pastels. For a milestone birthday, try metallics. Budget-wise, a single sheet of cardstock produces roughly 6 to 8 rosettes, making the total cost under five dollars for a full batch.
One small mistake to avoid: don’t skip the notching step. Without those little cuts, the paper won’t fan out and you’ll be left with a tight cone instead of a flower.